
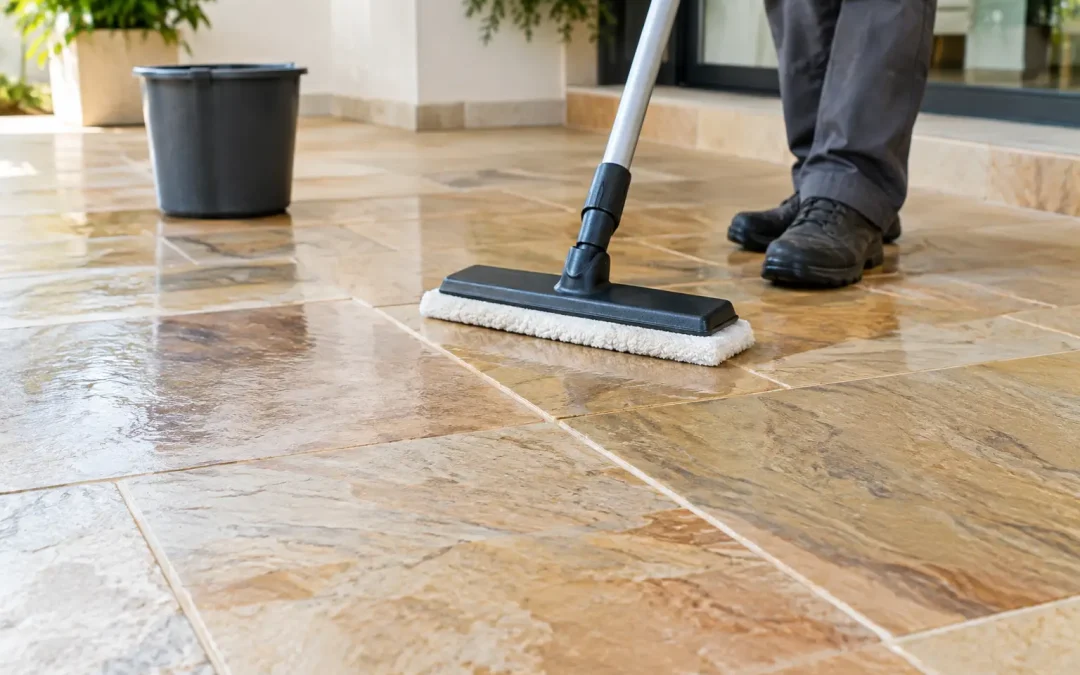
A sandstone floor can look warm, textured, and timeless – until everyday foot traffic starts leaving it dull, blotchy, or dark around the edges. Sandstone floor cleaning is not a job for harsh household chemicals or aggressive scrubbing. This natural stone is porous, and the wrong cleaner can drive stains deeper, strip protective sealer, or leave behind a residue that attracts more dirt.
For homeowners, the goal is not simply to make sandstone look cleaner for a few days. It is to remove soil safely, protect the stone’s natural character, and prevent small maintenance issues from becoming permanent discoloration or surface wear.
Why Sandstone Needs Specialized Cleaning
Sandstone is made of compressed mineral grains, often including quartz and feldspar, held together by natural binders. That structure gives it visual variation and a slightly textured feel, but it also creates tiny openings that absorb moisture, oil, soil, and cleaning products.
A floor may look dirty when the real problem is deeper than the surface. Dark traffic lanes can develop where fine grit and oils have settled into the stone. Water spots near exterior doors, kitchens, or pet areas may point to failed or incomplete sealing. A chalky, hazy appearance can come from soap residue, mineral deposits, or a coating that was not compatible with the stone.
Florida homes also face extra challenges. Sand tracked in from outside acts like fine sandpaper under shoes and furniture. High humidity can slow drying, and moisture that remains in porous stone can contribute to uneven color. The right approach depends on whether the concern is routine soil, staining, dullness, old sealer, or actual surface damage.
The Right Way to Handle Sandstone Floor Cleaning
Routine care should be gentle and consistent. Start by dry dusting or vacuuming with a hard-floor setting to remove loose grit. Avoid a vacuum attachment with worn, stiff bristles that could scratch the finish. This step matters more than it seems: abrasive particles cause gradual wear every time people walk across the floor.
For damp cleaning, use a pH-neutral cleaner made for natural stone and follow the dilution instructions closely. Apply it with a clean microfiber mop or soft mop pad, using enough solution to clean the floor without soaking it. Change the water or rinse the pad frequently. Mopping with dirty water simply moves fine soil into the pores and grout lines.
After cleaning, remove remaining moisture with a dry microfiber towel or allow good airflow for complete drying. Sandstone should not be left wet for long periods, especially near edges, transitions, and low spots where water can collect.
Clean Spills Before They Set
Blot spills promptly rather than wiping them across the floor. Oil, cooking grease, wine, coffee, pet accidents, and colored drinks can penetrate quickly. Use a white absorbent cloth or paper towel, working from the outside of the spill toward the center.
Do not reach for vinegar, lemon juice, bleach, or a multipurpose bathroom cleaner. Acidic products can damage some mineral binders and leave the surface looking rough or uneven. Strong alkaline cleaners, degreasers, and chlorine bleach can also create color changes, weaken sealer, or leave residue behind. Even products labeled “natural” are not automatically safe for sandstone.
If a stain remains after gentle cleaning, avoid repeated scrubbing. Scrubbing may roughen the stone and make the affected area stand out more. Stain removal often requires identifying what entered the stone and choosing a controlled treatment for that specific material.
Common Mistakes That Make Sandstone Floors Look Worse
The most common mistake is using too much water. A wet mop may feel like the fastest way to clean a large floor, but excess water can carry dissolved dirt into the stone and leave drying marks. Steam mops are also a poor choice for many sandstone installations because heat and moisture can stress grout, weaken certain sealers, and force moisture into porous areas.
Another problem is applying a glossy topical coating to hide dullness. Some coatings can yellow, peel, trap soil, or create an artificial shine that does not suit sandstone. Once a coating begins to fail, the floor may look patchy even after regular mopping. Removing it safely can be more involved than applying it was.
Homeowners should also be cautious with “one-size-fits-all” stone products. Sandstone varies in density, finish, color, and previous treatment. A cleaner or sealer that works well on one stone may not be appropriate for another. Testing an inconspicuous area first is a sensible safeguard, especially when using any unfamiliar product.
When Professional Sandstone Floor Cleaning Makes Sense
Regular maintenance can control everyday dirt, but it cannot always correct embedded soil, widespread staining, uneven color, failed coatings, or a worn finish. Professional service is often the better choice when the floor still looks dirty immediately after cleaning, when dark paths appear in busy areas, or when old sealer has become cloudy or inconsistent.
A proper evaluation begins with the stone itself, not with a standard cleaning formula. The surface should be assessed for porosity, stains, coating residue, grout condition, cracks, loose pieces, and moisture concerns. From there, the process may involve controlled deep cleaning, removal of unsuitable coatings, targeted stain treatment, restoration of an appropriate finish, and sealing for future protection.
Sealing is particularly valuable for sandstone, but it is not a cure for every problem. A penetrating sealer helps slow the absorption of water and contaminants while allowing the stone to retain its natural appearance. It does not make the floor stain-proof, and it will not prevent scratches or eliminate the need for routine cleaning. The best sealer and application schedule depend on the stone’s porosity, room use, and exposure to moisture.
Natural Surface Restoration helps homeowners address sandstone floors with a restoration-first approach. Rather than recommending replacement when a floor looks worn or stained, the focus is on identifying what the stone needs to look clean, natural, and protected again.
Simple Habits That Protect Sandstone Between Cleanings
A few practical changes can reduce wear before it becomes visible. Use quality mats at exterior doors and encourage family members and guests to wipe their shoes before walking inside. Select mats without rubber or plastic backing that could trap moisture against the stone. In dining areas and beneath movable furniture, felt pads help limit scratches caused by grit caught under chair and table legs.
Sweep or dry mop high-traffic areas more often than the rest of the floor. Entryways, kitchens, hallways, and areas near patios usually need attention first. When mopping is needed, use a clean pH-neutral stone cleaner, minimal moisture, and fresh mop pads.
Pay attention to changes rather than waiting for a major problem. A section that suddenly darkens, turns hazy, feels rough, or absorbs water differently may be signaling a sealer issue, residue buildup, or moisture concern. Early attention is generally simpler and more cost-effective than trying to reverse years of neglect.
A sandstone floor should look like stone, not like a surface hidden beneath residue or worn down by improper care. If your floor has lost its clean, even appearance, a professional assessment can clarify whether it needs a deeper cleaning, stain treatment, sealer renewal, or more complete restoration – and give you a clear path to protecting the floor for years ahead.