
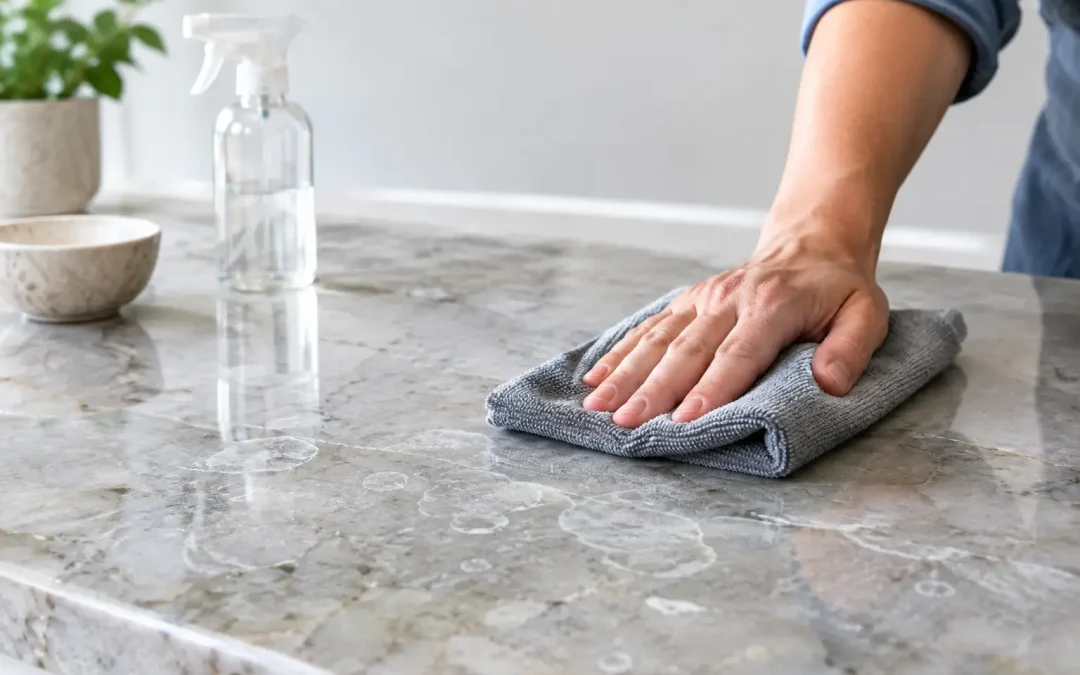
A lemon wedge left on a marble counter, a splash of wine beside the sink, or the wrong bathroom cleaner can leave behind a dull, pale mark that will not wipe away. If you are searching for how to remove stone etching, the first step is understanding that the mark is not usually dirt or a stain. It is physical damage to the stone’s finish, which means the right repair depends on the stone type, the finish, and how deeply the surface has been affected.
What Stone Etching Actually Is
Etching happens when an acidic substance reacts with calcium-based natural stone. Marble, travertine, limestone, and some polished terrazzo surfaces are especially vulnerable. Acidic foods, vinegar, citrus juice, wine, toilet bowl cleaners, and many bathroom products can dissolve a tiny amount of the stone at the surface.
On polished stone, an etch often looks lighter, duller, or less reflective than the surrounding area. On a honed finish, it may appear as a darkened or lightened spot, a rough patch, or a mark that seems impossible to clean. The stone itself has changed, so applying more cleaner will not restore the shine.
Granite is much more resistant to etching than marble or limestone. If a granite surface has a dull spot, it may instead have soap buildup, residue, wear, or a problem with the sealer. Correctly identifying the material before attempting a repair prevents a minor issue from becoming a larger one.
Etching Versus Staining
A stain and an etch need different solutions. Stains come from material absorbed into the stone, such as oil, coffee, rust, or food coloring. They often darken or discolor the surface while leaving its shine intact. Etches affect the finish itself. Run a fingertip across the spot: if it feels slightly rough, less smooth, or less glossy than the surrounding stone, etching is likely.
Sometimes both problems appear in the same area. A spilled drink can leave a color stain and an etched ring. Cleaning the stain may improve the color, but it will not bring back the original polish.
Before You Try to Remove Stone Etching
Start by cleaning the surface with a pH-neutral stone cleaner and a soft microfiber cloth. This removes residue that can make the damage look worse. Rinse according to the cleaner instructions, then let the stone dry completely before judging the mark.
Next, look at the stone from several angles in natural light. A polished marble countertop may show even a small etch clearly, while a honed travertine floor can hide a shallow etch until sunlight hits it. This matters because repairs that look acceptable in one area can look uneven in direct light.
Always test any product in a hidden place first. A polishing compound that works on polished marble may create an obvious shiny patch on honed limestone. Travertine also has natural holes and filled areas that require extra care. Aggressive rubbing can pull out filler or leave a noticeably different texture.
How to Remove Stone Etching From a Small, Light Mark
A light etch on polished marble may be improved with a stone-safe marble polishing powder or an etch-removal product made specifically for polished calcium-based stone. These products work by lightly refining the damaged surface and restoring its clarity. They are not general-purpose cleaners, and they are not suitable for every stone finish.
Use only the amount directed by the manufacturer, work in a very small area, and keep your pressure even. Do not expand the repair area too quickly. The goal is to blend the damaged spot into the surrounding finish, not create a brighter circle around it.
This approach can be useful for a small, recent countertop etch where the finish is still mostly intact. It is less predictable on floors, large islands, shower walls, or older stone with widespread wear. Hand polishing a single spot can also leave a difference in gloss that is more noticeable than the original etch.
If the surface is honed rather than polished, skip the polishing powder. A honed finish is created with a uniform, low-sheen abrasion pattern. Restoring it typically requires controlled honing, not a product intended to add shine.
When a DIY Repair Is Not Worth the Risk
Stop the DIY approach if the etch is large, feels rough, has visible rings, or sits in a highly visible area. Deep etches often require more than polishing. The stone may need to be honed with progressively finer abrasives, then polished or refinished to match the rest of the surface.
This is especially true when there are several etched areas across a floor or vanity. Repairing each mark separately can create a patchwork appearance. A professional restoration process treats the finish consistently over the affected section, which produces a more natural result.
Natural Surface Restoration can evaluate whether a marble, travertine, limestone, or terrazzo surface needs localized repair or full-area honing and polishing. For homeowners in Gainesville and across North Central Florida, that assessment can prevent unnecessary replacement and help preserve the character of the original stone.
Why Professional Honing Produces Better Results on Severe Etching
Professional etch removal is a finish-restoration process. Technicians begin by assessing the stone, its current finish, previous repairs, cracks, filler, and the extent of the damage. They then use the appropriate abrasives to level the affected surface gradually.
For polished marble, the process often includes honing away the etched layer and polishing the stone back to its intended reflection. For honed limestone or travertine, the goal is different: create an even satin finish without unwanted shine. The correct result depends on what the surface looked like before it was damaged, not simply on making it glossy.
There are trade-offs. Restoring an entire floor section provides a better visual blend than treating isolated spots, but it is more involved than a quick countertop touch-up. Some older stone may also retain natural pits, veins, and variations after restoration. Those features are part of natural stone, while etching is avoidable surface damage.
Products and Methods to Avoid
Etching is often made worse by well-intended cleaning. Avoid these common shortcuts on marble, travertine, limestone, and other acid-sensitive surfaces:
- Vinegar, lemon juice, and acidic homemade cleaning mixtures
- Bathroom limescale removers and toilet cleaners used near stone
- Abrasive scouring powders, rough scrub pads, and steel wool
- Generic “stone shine” products that leave coatings or waxy buildup
- Heavy use of baking soda paste, which can scratch or create uneven dullness
Do not try to hide an etch with oil, wax, or countertop polish. These products can temporarily darken the mark, but they attract residue and may complicate later restoration. A clear, clean surface gives a restoration technician the best starting point.
Preventing New Etches After Restoration
The best defense is quick cleanup and the right daily cleaner. Wipe acidic spills promptly rather than letting them sit, especially around kitchen prep areas, bar tops, and bathroom counters. Use coasters under citrus drinks, wine, and other acidic beverages. On vanity tops, keep cosmetics and cleaners in trays instead of directly on the stone.
A quality penetrating sealer can help reduce absorption and make spills easier to clean, but it does not stop acid from etching calcium-based stone. Sealer protects against many stains. It does not create an acid-proof barrier. That distinction helps homeowners set realistic expectations.
Use a pH-neutral cleaner made for natural stone, a soft cloth or mop, and clean water when needed. Regular, gentle care protects both the finish and the investment underneath it.
A dull ring or rough patch does not automatically mean replacement is the answer. With the right diagnosis and a repair matched to the stone’s finish, many etched surfaces can look like themselves again and stay protected for years to come.