
Dark grout lines can make an otherwise clean kitchen floor or shower look neglected. The best methods for cleaning grout depend on what is causing the discoloration, whether the grout is sealed, and what type of tile surrounds it. A light surface film needs a different approach than embedded soil, mildew, mineral buildup, or grout that has permanently lost its color.
For homeowners, the goal is not simply to make grout look brighter for a day. It is to clean it without weakening the grout, damaging the tile, or leaving behind residue that attracts more dirt. Start with the least aggressive method that fits the problem, then move up only when the results call for it.
Start by Identifying What Is on the Grout
Grout is porous, especially when it has not been sealed or its existing sealer has worn away. On floor tile, the usual culprit is tracked-in soil, cooking residue, mop water, and cleaner buildup. In showers, soap scum, body oils, humidity, and mildew are more common. Around toilets or exterior entries, staining may have a different source altogether.
Color matters, too. Beige or light gray grout can darken from ordinary soil. White grout may turn yellow from product residue or minerals in the water. Black or pink spotting in a shower often points to moisture and microbial growth. Cleaning products work best when they are matched to the stain instead of chosen by the strongest smell or brightest label.
Before using any cleaner, vacuum or sweep the floor thoroughly. Dry grit can turn into abrasive mud under a brush, and loose debris makes it harder to tell whether the cleaner is actually working.
Best Methods for Cleaning Grout at Home
Use a pH-neutral cleaner for routine buildup
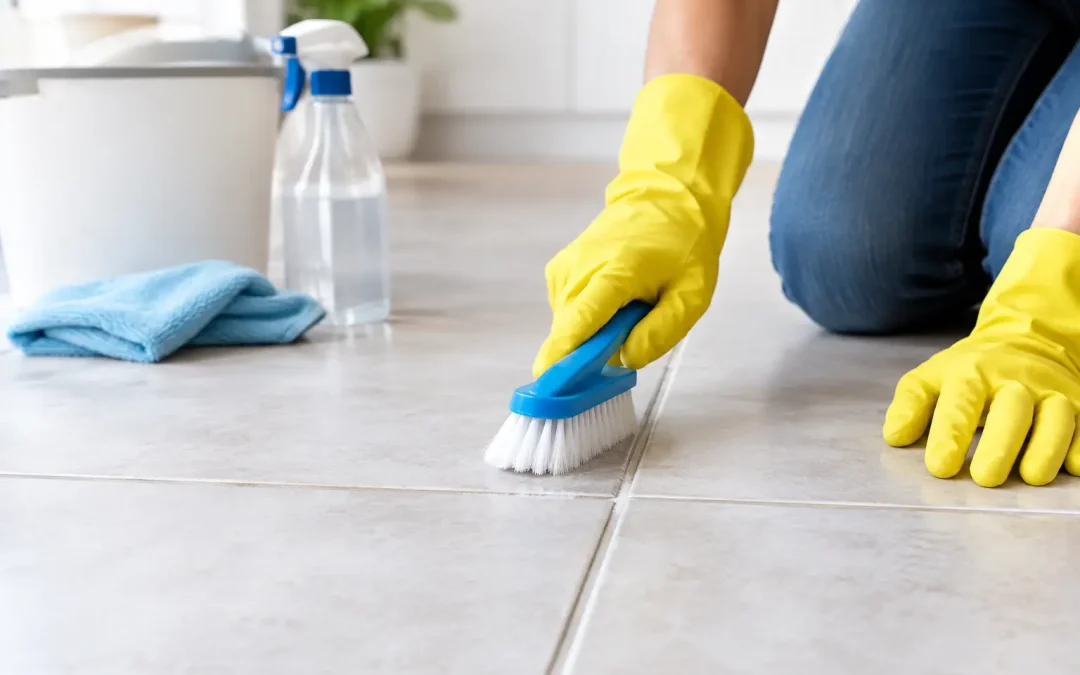
For regular maintenance, a pH-neutral tile and grout cleaner is usually the safest first choice. Apply it according to the product directions, allow a short dwell time, then agitate the grout lines with a nylon grout brush. Work in manageable sections so the cleaner does not dry on the surface.
A nylon brush gives enough scrubbing action without the harshness of wire bristles. Rinse the area well and remove the dirty water with a microfiber cloth, mop, or wet vacuum. Simply spreading dirty water across the floor can leave the same soil behind in the grout joints.
This method is especially useful for ceramic and porcelain tile floors with ordinary dirt buildup. It is not always enough for grout that has absorbed years of soil, but it is the right place to begin.
Try an alkaline cleaner for greasy floor grout
Kitchen grout often holds grease that ordinary cleaners cannot fully break down. An alkaline tile and grout cleaner can be more effective for this type of buildup because it cuts through oils and food residue. Follow the dilution instructions carefully, wear gloves, and rinse thoroughly after scrubbing.
More strength is not always better. Overusing a concentrated cleaner can leave residue, dull the tile, or create a sticky surface that soils quickly. If a floor looks cleaner immediately after mopping but becomes dingy again within days, leftover product may be part of the problem.
Use a baking soda paste carefully on small areas
A paste of baking soda and water can provide mild abrasion for isolated stained grout joints. Apply a small amount, gently scrub with a nylon brush, and rinse it away completely. This is a reasonable option for a small spot, not the most efficient method for an entire tiled floor.
Avoid treating baking soda as a universal cure. It may leave a powdery residue if it is not rinsed well, and repeated aggressive scrubbing can wear down soft or already deteriorating grout. If the grout begins to crumble, crack, or shed sand-like particles, stop scrubbing and have the joints evaluated.
Use peroxide-based cleaners for organic shower stains
For light mildew staining or organic discoloration in a shower, an oxygen-based or hydrogen peroxide-based cleaner may help lift the stain without the harsh fumes of chlorine bleach. Apply it to a small test area first, allow it to sit as directed, scrub gently, and rinse.
Ventilation still matters. Keep the bathroom fan running and dry the shower walls after cleaning. Moisture control is the part that keeps a cleaned shower from returning to the same condition within a few weeks.
Chlorine bleach can whiten some stains temporarily, but it is not always the best long-term answer. It can be harsh on grout, irritating in enclosed bathrooms, and less effective once staining has penetrated below the surface. Never mix bleach with other cleaning products.
What to Avoid When Cleaning Tile and Grout
Vinegar, lemon juice, and other acidic cleaners are frequently recommended online, but they are a poor choice around natural stone and can damage cement-based grout over time. They are particularly risky near marble, travertine, limestone, terrazzo, and other calcium-based surfaces. Acid can etch the stone, dull its finish, and create a repair issue that is more expensive than the original grout stain.
Avoid wire brushes, steel wool, and highly abrasive scouring powders. They can scratch glazed tile, wear away grout, and leave metal fragments that may rust. Also skip paint or grout color products unless the grout is clean, dry, and properly prepared. Coloring over embedded soil rarely creates an even, durable result.
Steam cleaning can help in some situations, particularly on ceramic or porcelain tile with sound grout. However, it is not right for every floor or shower. High heat and moisture may be a concern around loose tile, cracked grout, failing caulk, or delicate stone. When in doubt, test a hidden area or ask a surface restoration specialist before using steam.
When Deep Cleaning Is the Better Option
There is a point where hand scrubbing becomes a lot of work for limited improvement. If grout remains dark after proper cleaning, looks blotchy from old stains, or has years of ground-in soil, professional deep cleaning can make a meaningful difference. Professional equipment uses controlled cleaning solutions, agitation, and high-powered extraction to remove suspended soil instead of leaving it on the floor.
This approach is valuable for large kitchens, high-traffic entries, bathrooms, and rental or resale preparation. It is also a better choice when tile is surrounded by natural stone that requires material-specific care. The same product that is acceptable for porcelain tile may not be safe for marble, travertine, or limestone.
Natural Surface Restoration evaluates the tile, grout condition, and surrounding surfaces before recommending cleaning, sealing, or grout color restoration. For grout that is permanently stained but structurally sound, color sealing can create a consistent appearance while adding a protective barrier. It can also change an outdated grout color without the disruption of tile replacement.
Keep Clean Grout From Getting Dirty Again
Once grout is clean, protection and routine habits matter more than heavy scrubbing. A quality grout sealer can reduce absorption and make future cleaning easier, though it is not a permanent shield. Sealers wear down over time, especially on busy floors and wet shower areas.
Use doormats at exterior entrances, wipe spills promptly, and avoid flooding tile floors with mop water. Choose a pH-neutral cleaner for regular care, and change mop water before it turns gray. In showers, a quick squeegee after use and steady ventilation can greatly reduce soap scum and moisture-related staining.
If your grout looks dirty again immediately after cleaning, do not keep escalating to harsher chemicals. The issue may be embedded staining, failing sealer, cleaner residue, or grout that needs color restoration rather than another round of scrubbing. A careful assessment can protect the tile you have and help the whole surface look like it belongs in the home again.