
A shower can look freshly cleaned on Saturday and show darkened grout lines again by Tuesday. That usually is not a cleaning failure. It is a sign that porous grout is absorbing moisture, soap residue, body oils, or spills. The best way to seal grout is to start with grout that is truly clean and dry, choose a sealer designed for the surface and location, and give it enough time to cure before regular use.
Grout sealer is protection, not a cover-up. It cannot permanently fix cracking, missing grout, loose tile, or stains that have already penetrated deeply into the joint. Getting those conditions addressed first gives the sealer a clean, sound surface to protect.
Why grout needs sealing
Most cement-based grout is porous. Its tiny openings pull in water and contaminants, particularly in showers, kitchen backsplashes, entryways, and tile floors near exterior doors. Over time, that absorption can leave grout looking blotchy, dark, or permanently stained.
A quality penetrating sealer helps reduce how quickly grout absorbs liquids. That gives homeowners more time to wipe up spills and makes routine cleaning easier. In wet locations, it also helps grout resist the repeated exposure to moisture that encourages mildew staining.
Sealer does not make grout waterproof, and it does not replace proper shower waterproofing behind the tile. If a shower has persistent moisture problems, loose tiles, or recurring mold in the same areas, the cause may be beyond the grout surface. Sealing should be one part of a sensible maintenance plan, not the answer to every tile problem.
The best way to seal grout starts with preparation
The most common mistake is applying sealer over grout that only looks clean. If soap scum, mineral buildup, cooking grease, or embedded soil remains in the pores, the sealer can lock in the discoloration and prevent it from being cleaned effectively later.
Start by identifying the source of the staining. In a shower, it is often soap residue, hard-water minerals, or mildew. On a kitchen floor, grease and food spills may be the issue. An entryway may have ground-in soil. Use a cleaner appropriate for ceramic or porcelain tile and the surrounding material. If natural stone is installed beside the grout, avoid acidic or harsh cleaners that can etch marble, travertine, limestone, or other sensitive surfaces.
Rinse away cleaner residue thoroughly. Residue left behind can interfere with sealer penetration and leave a hazy film on tile. Once the grout is clean, allow it to dry completely. This step matters more than it sounds. Moisture inside the grout can keep a penetrating sealer from absorbing evenly.
Drying time depends on humidity, ventilation, the condition of the grout, and how much water was used during cleaning. In North Central Florida, humid weather can extend the process, especially in a closed bathroom. A fan, open door, and good airflow help, but do not rush a damp shower just because its surface feels dry.
Before sealing, inspect the joints closely. Replace crumbling grout, repair cracks, and address failed caulk at changes of plane, such as where a shower wall meets the tub or floor. Caulk and grout serve different purposes. Grout belongs between tiles on a flat plane, while flexible caulk is used where surfaces meet and move independently.
Choose the right grout sealer for the location
For most residential tile, a penetrating or impregnating grout sealer is the practical choice. It soaks below the surface and helps resist water and stains without creating a heavy coating on top. This is especially useful for showers, bathrooms, kitchens, and tile floors where a natural-looking finish is preferred.
Topical sealers sit closer to the surface and can alter sheen or create a visible film. They may be appropriate for certain decorative applications, but they require careful product selection and maintenance. On a frequently used floor, a surface coating can wear unevenly, trap dirt, or become difficult to remove if it fails.
The grout itself also affects the decision. Traditional cementitious grout benefits most from sealing. Many epoxy and some urethane grouts are far less porous and may not require a separate sealer. Applying the wrong product can leave residue on the tile without adding protection, so check the grout manufacturer’s guidance when the installation is newer or the grout type is known.
Do not assume a tile-and-grout sealer is safe for every surrounding material. A product that performs well on porcelain tile and cement grout may not be appropriate for polished marble, honed travertine, natural stone, or textured tile. When several surface types meet in one room, compatibility matters.
How to apply grout sealer correctly
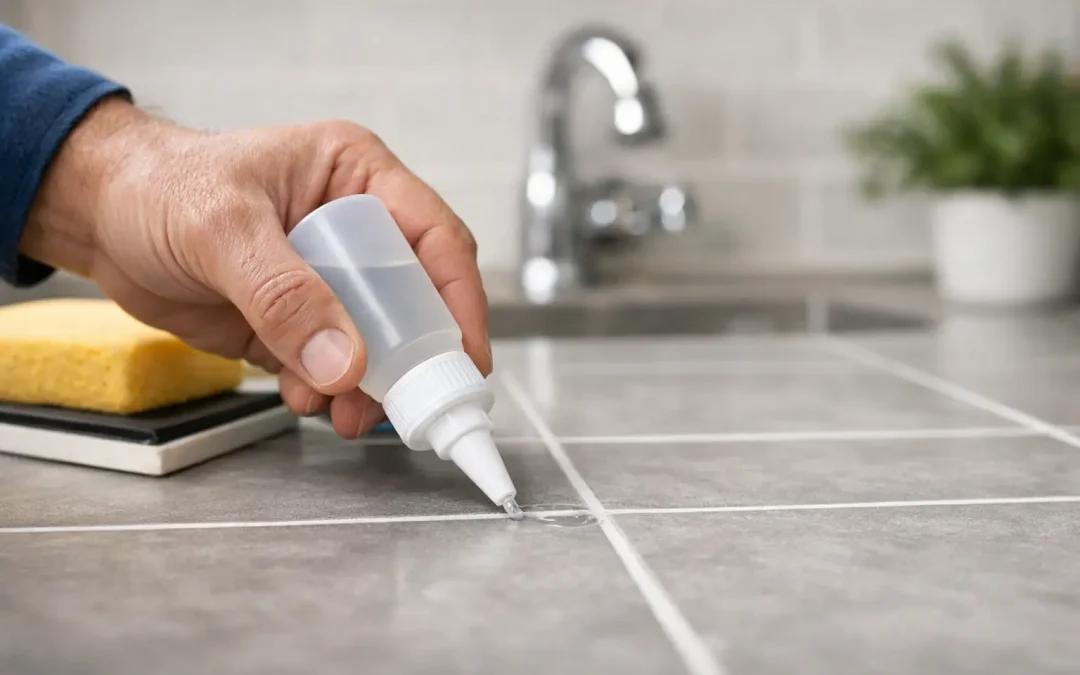
After the grout is clean, repaired, and fully dry, work in manageable sections. An applicator bottle with a narrow wheel or tip is useful for floor joints because it directs the sealer into the grout rather than across the tile. In tighter areas, a small brush can provide better control.
Apply enough sealer to wet the grout line evenly, but do not flood the tile. Let it dwell for the time specified on the product label, then wipe excess sealer from the tile surface before it dries. This is particularly important on textured, matte, or porous tile, where dried residue can be difficult to remove.
Some grout accepts a second coat, while other products are designed for one application. Follow the label rather than applying extra sealer by habit. More is not always better. Excess product can create a sticky or streaked surface, especially if it is allowed to dry on tile.
For a quick absorption check after curing, place a few drops of water on a grout joint. If the water beads or remains on the surface for several minutes, the sealer is doing its job. If it darkens the grout immediately and absorbs quickly, the grout may need another coat or the original application may have been uneven.
Give the sealer time to cure
Drying and curing are not the same thing. A grout line may feel dry to the touch long before the sealer has reached its intended stain resistance. Keep showers dry and avoid mopping sealed floors until the product’s stated cure time has passed.
This is where homeowners often lose the benefit of careful preparation. Using a shower too soon introduces water, shampoo, and soap into grout before the protective treatment is ready. Plan the work around the room’s use, and read the product directions before starting rather than after the sealer is already down.
Keeping sealed grout clean
Sealed grout still needs routine care. Use a pH-neutral cleaner for regular cleaning, wipe shower walls after use when practical, and clean spills promptly. Harsh acids, bleach-heavy products, and aggressive abrasive scrubbing can damage grout, dull nearby finishes, or shorten the life of a sealer.
How often grout needs resealing depends on traffic, cleaning habits, grout type, and the room. A lightly used backsplash may hold protection for years, while a busy shower floor or kitchen floor can need attention sooner. Instead of resealing by calendar alone, use the water-drop test and watch for faster absorption or recurring darkening.
When professional grout sealing is worth it
DIY sealing is reasonable when grout is in good condition, the tile is straightforward, and you can keep the area dry long enough for proper curing. The job becomes more complicated when grout is severely stained, unevenly colored, cracking, or installed beside delicate natural stone.
Professional service is also valuable when the goal is more than basic protection. Deep cleaning, grout color sealing, stain correction, and surface-specific restoration can change the appearance of an entire room without the expense and disruption of replacement. Natural Surface Restoration helps homeowners assess the condition of tile, grout, and nearby stone so the treatment fits the actual surface rather than a one-size-fits-all approach.
A properly sealed grout line should not demand constant attention. Clean it well, protect it with the right product, and give it time to cure. That small amount of care can keep tile surfaces looking brighter and easier to maintain for years.