
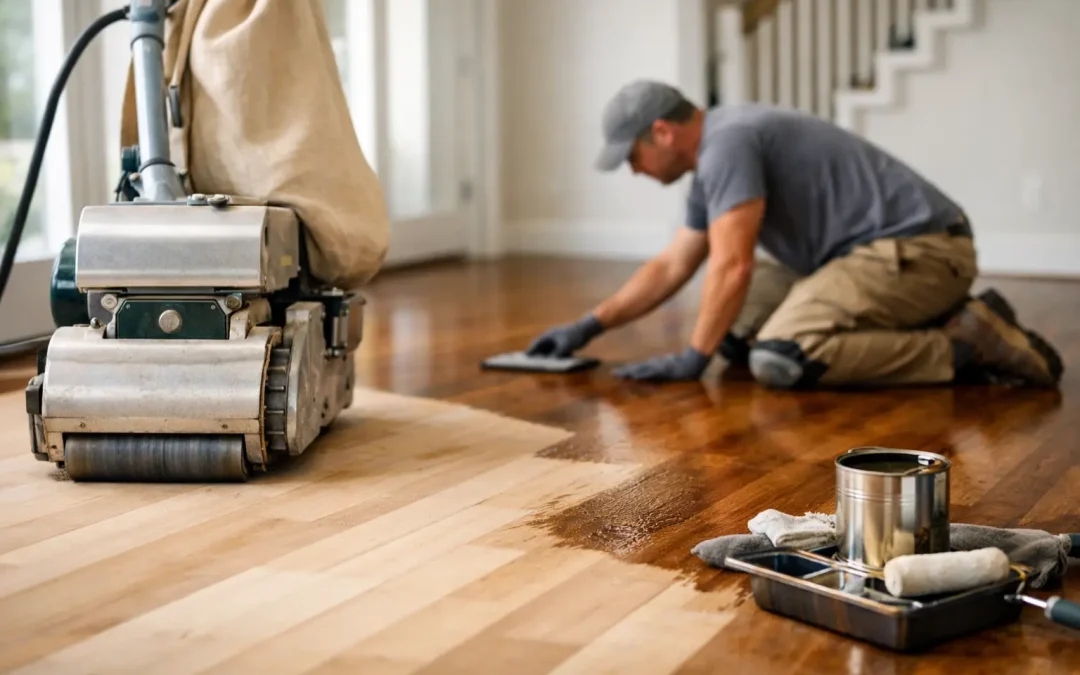
A wood floor can look tired long before it is ready to be replaced. Dull traffic paths, fine scratches near doorways, water marks by the kitchen, and a finish that no longer cleans up well are common signs of wear. This guide to wood floor refinishing explains what homeowners should look for, what the restoration process involves, and when professional help is the safest choice for protecting a valuable floor.
For Gainesville-area homes, refinishing decisions also need to account for Florida humidity. Wood responds to changes in moisture, so the right preparation, products, and drying conditions matter as much as the final coat of finish.
What Wood Floor Refinishing Actually Does
Refinishing restores the protective surface of a hardwood floor. In a full refinishing project, the existing finish is removed, surface damage is addressed, the floor is sanded smooth, and new protective coats are applied. The result can bring back a more even color, clearer grain, and a finish that stands up better to everyday use.
Refinishing is not the same as replacing a floor. Solid hardwood can often be refinished more than once, depending on the thickness of the wood and the condition of the boards. Many engineered wood floors can also be refinished, but only if their top hardwood layer is thick enough. That distinction should be checked before any sanding begins.
A professional assessment helps determine whether the floor needs a full refinish, a lighter screen-and-recoat service, localized repairs, or replacement of damaged boards. The right solution depends on the floor, not just how worn it looks from across the room.
Signs It Is Time to Refinish Hardwood Floors
The clearest sign is a failing finish. If water droplets soak into the floor instead of beading up on the surface, the protective coating may be worn away. That leaves the wood more vulnerable to staining, dark water marks, and swelling.
Scratches are another concern, but their depth matters. Light scratches that stay within the finish may respond well to a maintenance coat. Gouges that expose bare wood, uneven color from sun exposure, and widespread dullness usually call for more extensive restoration.
Watch for cupping, crowning, gaps between boards, or areas that feel soft underfoot. These are not always refinishing issues. They can point to moisture problems, structural movement, or past water damage that must be corrected before a new finish is applied. Sanding a floor before resolving the cause can lead to the same damage returning.
Full Refinishing vs. Screen and Recoat
A full refinish is the more complete process. It removes the existing finish and a very thin layer of wood, allowing the surface to be leveled and repaired. This is usually the best option for deep scratches, worn-through areas, uneven stain color, pet damage, and stubborn discoloration.
A screen and recoat is less aggressive. The surface finish is lightly abraded, cleaned thoroughly, and given a fresh coat of compatible finish. It can restore sheen and protection when the existing coating is intact but dull or lightly scratched.
The trade-off is straightforward: a screen and recoat is faster and preserves more wood, but it cannot remove deep damage or correct major color variation. It also requires careful testing. Certain cleaners, waxes, polishes, and old coatings can interfere with adhesion, causing a new finish to peel or fail.
The Wood Floor Refinishing Process
Every floor has its own condition, but a careful refinishing project follows a disciplined sequence. Skipping steps may save time at first, yet it often shows later as uneven sheen, rough spots, visible sanding marks, or premature wear.
Inspecting the Floor and Planning Repairs
Before equipment is brought into the room, the floor should be inspected for loose boards, protruding fasteners, damaged planks, stains, and moisture-related concerns. Damaged sections may need repair or replacement. If a homeowner wants to change the floor color, a test area can help set realistic expectations because wood species and previous treatments affect how stain absorbs.
Furniture, rugs, and movable items should be removed from the work area. Homeowners should also plan for access restrictions while the floor is being restored and while the finish cures.
Sanding and Surface Preparation
Professional sanding removes failing finish while keeping the floor as flat and even as possible. The work generally starts with an appropriate cutting sequence and moves through finer abrasives to reduce scratches. Edges, corners, and areas around trim require separate attention because large sanding machines cannot reach them.
Dust control matters. Modern containment methods can greatly reduce airborne dust, but no sanding project is entirely dust-free. A qualified contractor will protect nearby areas, clean carefully between stages, and explain what level of disruption to expect.
Staining and Applying the Finish
Once the wood is properly prepared, the floor may be stained or left in its natural tone. Stain is optional. Natural finishes often highlight the wood’s original character, while a stain can help create a different look or improve consistency between old and repaired boards.
The finish is the floor’s working layer. Water-based finishes generally dry faster, have lower odor, and stay clearer over time. Oil-based finishes can create a warmer amber tone and may offer a look some homeowners prefer, though they typically have a longer drying and curing period. The best choice depends on the desired appearance, household schedule, ventilation, and expected foot traffic.
Several coats are usually applied, with proper drying and light abrasion between coats when required. A floor may feel dry before it is fully cured. Follow the recommended cure schedule before replacing rugs, moving furniture, or allowing pets to return to the area.
Humidity Matters in Gainesville Homes
Florida’s humidity can affect wood flooring throughout the year. Seasonal expansion and contraction are normal, but excessive moisture can cause cupping, gaps, finish problems, and movement at board edges. Refinishing improves protection, but it cannot solve an active moisture source.
Keep indoor humidity as stable as practical, address leaks promptly, and use mats near exterior doors without trapping moisture underneath. If a floor has been exposed to flooding, plumbing leaks, or repeated wet mopping, have its condition evaluated before scheduling restoration.
Common Refinishing Mistakes to Avoid
The biggest mistake is treating every dull floor as a DIY sanding project. Rental sanders can remove material quickly, and uneven technique can create dips, chatter marks, rounded edges, or damage that is difficult to correct. Floors with thin wear layers, loose boards, old adhesives, or water damage need extra care.
Avoid applying a new finish over unknown products without testing for compatibility. Household wax, silicone-based polishes, and some cleaners can prevent a new coating from bonding correctly. Also avoid using excessive water for routine cleaning after refinishing. Wood floors should be cleaned with products suited to the finish and a lightly damp microfiber mop, not saturated.
Finally, do not judge the result solely by shine. A high-gloss finish can look dramatic, but it shows dust, paw prints, and small scratches more readily. Satin and matte finishes are popular because they offer a refined appearance while being more forgiving in active homes.
How to Protect a Newly Refinished Floor
Refinishing gives a wood floor a fresh start, and consistent care helps preserve it. Place felt pads under furniture legs, use entry mats to catch grit, and lift furniture rather than dragging it. Grit is one of the most common causes of surface scratching because it acts like sandpaper under shoes and chair legs.
Clean spills promptly, especially near pet bowls, exterior doors, and kitchens. Use a cleaner approved for your finish, and avoid steam mops, abrasive pads, oil soaps, and products that leave a heavy residue unless the finish manufacturer specifically recommends them.
A maintenance recoat before the finish wears through can often extend the life of the floor and postpone a full sanding project. The right timing varies with traffic, pets, cleaning habits, and sunlight exposure.
When to Call a Wood Floor Restoration Professional
A professional evaluation is especially worthwhile if you see dark stains, cupping, deep scratches, separating boards, peeling finish, or uncertain flooring materials. It is also the safer route when the floor is engineered wood, antique hardwood, parquet, or part of a larger surface restoration plan.
Natural Surface Restoration helps homeowners in Gainesville and surrounding North Central Florida communities assess worn wood floors and identify a practical path forward. A clear estimate should explain the floor’s condition, the recommended level of restoration, finish options, expected timing, and any repairs needed before work begins.
Your wood floor does not need to look new to be worth saving. With the right assessment and careful refinishing, the character already built into the wood can remain part of your home for many more years.