
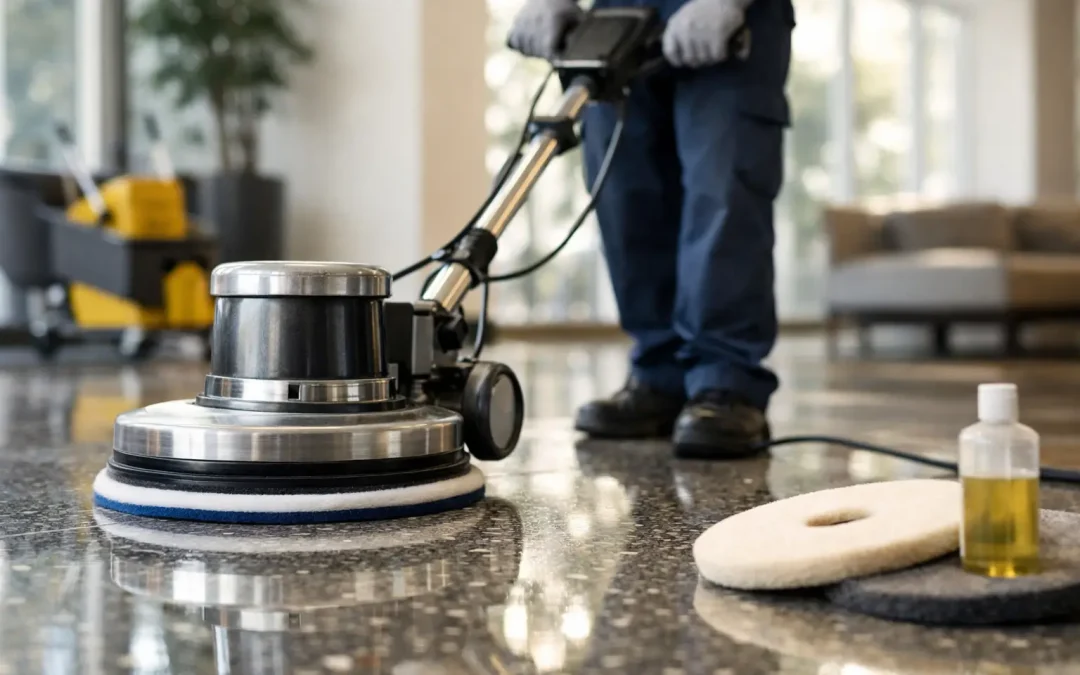
A terrazzo floor can look permanently dull when its shine has simply been worn away by foot traffic, cleaning residue, fine grit, and years of small scratches. Learning how to polish terrazzo floors starts with one key decision: determine whether the floor needs routine cleaning or true mechanical restoration. Using the wrong product or pad can leave a haze, cut the finish unevenly, or make existing damage more noticeable.
Terrazzo is a durable surface made from chips of marble, quartz, granite, glass, or other aggregate set in cement or epoxy. It is long-lasting, but it is not maintenance-free. In many North Central Florida homes, original terrazzo floors have been covered, neglected, or cleaned with products that leave behind a cloudy film. The good news is that a worn terrazzo floor can often be restored rather than replaced.
Start by Identifying What Is Dulling the Floor
Before polishing, look closely at the surface under bright natural light. If the floor looks hazy but feels smooth, the issue may be residue from soap, wax, acrylic floor finish, or an unsuitable cleaner. A deep clean may improve the appearance without aggressive polishing.
If the floor has visible scratches, dull traffic paths, small pits, stubborn stains, or areas with uneven sheen, the damage is likely in the surface itself. Polishing products alone will not remove these problems. The terrazzo must be honed with progressively finer diamond abrasives before it can develop a consistent shine.
This distinction matters. Trying to polish over wax buildup or etched areas can create a patchy result. Likewise, applying a topical shine product may provide a temporary gloss while trapping dirt and making future restoration more difficult.
How to Polish Terrazzo Floors the Right Way
Professional terrazzo polishing is a controlled process, not a single pass with a buffing machine. The goal is to level minor wear, refine the surface, and bring back clarity without removing more material than necessary.
1. Remove Dirt, Residue, and Old Coatings
Begin with a thorough inspection and cleaning. Dry dust and grit should be removed first because abrasive particles can scratch terrazzo during wet cleaning. A neutral-pH stone cleaner is the safest starting point for most floors.
If a floor has wax, mop-and-glow products, or older coatings, those layers must be stripped carefully with a product appropriate for terrazzo. Cement-based terrazzo and epoxy terrazzo do not always respond the same way to chemicals, so testing in an inconspicuous area is essential. Strong acids, bleach, and harsh degreasers are poor choices. They can etch or discolor the binder and damage nearby metal strips, baseboards, or transitions.
2. Repair Cracks, Holes, and Open Joints
Small cracks and pinholes can become more obvious after polishing because the surrounding floor becomes clearer and more reflective. They should be filled before the final polishing stages using a color-matched terrazzo repair material.
A repair can be durable without disappearing completely. On older terrazzo, especially floors with large or varied aggregate, a close color match is usually realistic while an invisible repair may not be. A skilled restoration process balances durability with the most natural-looking blend possible.
3. Hone the Surface With Diamond Abrasives
Honing is the step that removes fine scratches, dullness, and uneven wear. Professionals use weighted floor machines with diamond pads or resin-bond diamonds, beginning with the least aggressive grit that will correct the problem.
For lightly worn floors, the process may begin at a finer grit. Floors with deep scratches, lippage between sections, old coatings, or significant traffic wear may require a more aggressive starting point. Each subsequent grit refines the scratch pattern left by the previous one.
Skipping grits to save time is one of the main reasons a terrazzo floor develops swirl marks or a cloudy finish. The floor may look better while wet, then dry with visible scratch lines and inconsistent reflection. Patience at this stage determines the quality of the final shine.
4. Polish to the Desired Level of Sheen
After honing, polishing compounds or increasingly fine diamond abrasives bring out the terrazzo’s natural color and reflectivity. The right finish depends on the floor and the homeowner’s expectations.
A satin finish can be practical for busy entryways, kitchens, and homes with pets because it reduces the visibility of minor dust and future wear. A higher polish offers a more dramatic appearance but will show footprints, water spots, and scratches sooner. Neither choice is automatically better. The best result is the one that suits the room’s use and can be maintained comfortably.
Cement-based terrazzo may also benefit from densification during restoration. A densifier helps strengthen the cement matrix and can improve polishability. Epoxy terrazzo has different properties and may not need the same treatment. Identifying the terrazzo type before selecting products is part of protecting the floor.
5. Seal and Protect the Restored Surface
Polishing improves appearance, but sealing helps protect against stains and moisture intrusion. A penetrating sealer is commonly used on cement terrazzo because it provides protection without creating a thick, artificial film. The sealer should be applied evenly, allowed to dwell as directed, and buffed dry so excess product does not leave streaks.
Sealer is not a substitute for cleaning spills promptly. Cooking oil, wine, rust, pet accidents, and colored liquids can still stain if left on the floor. It is also worth remembering that a sealer does not prevent scratches. Entry mats and regular dust removal remain part of the protection plan.
What Homeowners Can Safely Do Themselves
Homeowners can make a meaningful difference with consistent maintenance. Sweep or vacuum using a hard-floor setting several times a week, especially near exterior doors. Fine sand and grit are the most common cause of gradual terrazzo dullness.
Mop with clean water and a neutral stone cleaner, using a well-wrung microfiber mop rather than soaking the floor. Change the cleaning solution when it becomes dirty. Reusing gray mop water spreads abrasive soil and leaves residue behind.
Avoid vinegar, lemon-based cleaners, powdered scrubs, abrasive pads, and products marketed as quick shine or floor polish unless they are specifically approved for terrazzo. These shortcuts can leave a coating that yellows, attracts soil, or has to be chemically removed before proper polishing can begin.
Furniture pads, entry mats without rubber backing, and immediate spill cleanup are simple measures that preserve the restored finish. For a small isolated scuff, a gentle cleaner and soft microfiber cloth may be enough. Large dull areas, scratches, or uneven sheen are not good candidates for spot polishing with consumer products.
When Professional Terrazzo Restoration Makes Sense
Call for professional help when the floor has widespread dullness, heavy scratches, old wax buildup, discoloration, cracking, etched areas, or a finish that looks uneven from room to room. These conditions usually require commercial equipment, correct diamond sequencing, moisture management, and experience with repair materials.
Professional restoration also reduces the risk of accidental damage. Too much pressure, an overly aggressive abrasive, or the wrong chemical can permanently alter a terrazzo floor’s appearance. This is especially relevant with older floors, where the aggregate exposure and condition of the cement binder can vary across the room.
Natural Surface Restoration evaluates the condition of terrazzo floors before recommending a restoration plan. That means looking beyond surface shine to identify coatings, staining, damage, and the level of honing needed to achieve a clean, even result. Homeowners in Gainesville and surrounding North Central Florida communities can request an estimate before committing to a service.
A properly polished terrazzo floor should not look coated or slippery. It should look clear, clean, and true to the material, with color and aggregate that feel renewed rather than artificially covered. With the right maintenance, that finish can stay attractive for years and help preserve one of the most distinctive surfaces in the home.