
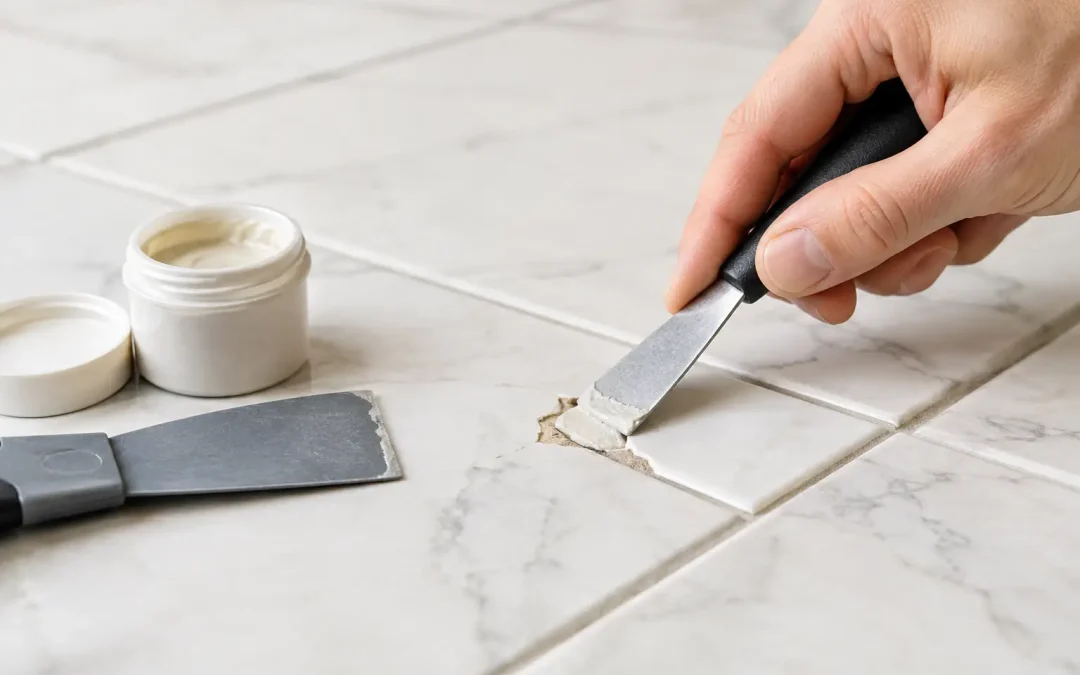
A chip in an otherwise clean tile floor or shower wall draws the eye immediately. It can also collect dirt, expose an unglazed edge, and turn into a larger break if it sits in a high-traffic area. The good news is that learning how to repair chipped tile can save a sound tile from unnecessary replacement – provided the damage is small and the tile is still firmly bonded to the surface.
A successful repair depends less on filling the chip quickly and more on using the right material for the tile, matching its color and sheen, and knowing when a patch is no longer the right answer.
Start by Checking Whether the Tile Is a Good Repair Candidate
A small chip on ceramic or porcelain tile is usually repairable with a color-matched two-part epoxy, a tile repair kit, or a specialty porcelain touch-up compound. These repairs work best when the surrounding tile is stable, the missing area is shallow, and the chip has not spread into long cracks.
Press lightly around the damaged tile and listen for a hollow sound. A hollow tile may have loose adhesive underneath it. Also look for cracks running from the chip to an edge, grout joint, or nearby tile. If the tile moves, sounds hollow, or has multiple fractures, filling the surface may only hide a deeper problem for a short time. Replacement is often the more dependable option in that situation.
The tile location matters, too. A minor chip on a kitchen backsplash is generally a straightforward cosmetic repair. A chip on a shower floor, entryway, or busy bathroom floor needs a stronger, water-resistant repair that can tolerate foot traffic and routine cleaning.
What You Need to Repair a Small Tile Chip
Most small repairs do not require a large tool collection. You will need a tile repair epoxy or porcelain repair compound, rubbing alcohol or a residue-free cleaner, a lint-free cloth, a small putty knife or plastic applicator, fine-grit sandpaper, painter’s tape, and a small artist’s brush if color blending is needed.
Choose a product intended for ceramic or porcelain tile rather than general-purpose wall filler. Standard spackle is not made for wet areas, scrubbing, or repeated foot traffic. It may look acceptable on day one, then shrink, stain, or release from the chip.
For patterned, textured, or glossy tile, expect to spend more time matching the finish. A repair can be structurally sound but still noticeable if it is too flat, too shiny, or slightly off-color. This is one reason test applications are worthwhile.
How to Repair Chipped Tile Step by Step
Begin by cleaning the damaged area thoroughly. Remove soap residue, floor cleaner, wax, and loose debris from inside the chip. Wipe the tile with rubbing alcohol and allow it to dry completely. Adhesives do not bond well to a surface that is damp or coated with residue.
Next, carefully remove any loose fragments along the chip’s edges. Do not dig aggressively into the tile or enlarge the damaged area. The goal is to eliminate unstable material while preserving a clean, solid edge for the repair compound to grip.
Use painter’s tape around the chip if it is close to grout lines or if you are concerned about getting epoxy on the surrounding glaze. This simple step makes cleanup easier and helps keep the repair contained.
Mix the repair epoxy according to the manufacturer’s instructions. Two-part products often have a limited working time, so only prepare the amount needed for the chip. If you need to tint the epoxy, add color gradually. It is easier to darken a light mixture than to correct one that becomes too dark.
Press the compound into the chip with a small applicator. Work it into the bottom and corners first to avoid trapping air. Slightly overfill the damaged area rather than trying to make it perfectly level immediately. Many epoxy repairs shrink slightly as they cure, and a shallow fill may leave a visible dip.
Allow the repair to set until it is firm enough to shape. The timing varies by product, so follow the label rather than relying on a fixed number of minutes. Once it has cured, sand it lightly with fine-grit paper until it sits flush with the surrounding tile. Use a gentle touch. Sanding too aggressively can dull the glaze around the repair or expose the patch.
For a glossy tile, a compatible clear topcoat may help bring the sheen closer to the original surface. For matte tile, avoid adding a shiny finish that makes the repaired spot stand out. Let the repair cure fully before washing the area, exposing it to shower water, or placing heavy furniture on it.
Matching Color and Texture Is the Hard Part
White tile may seem easy to match, but white comes in warm, cool, bright, and cream-toned versions. Beige, gray, marble-look, and speckled tiles can be even more challenging. Look at the tile in natural daylight before choosing a repair color. Bathroom lighting and warm interior bulbs can distort the shade.
If the tile has a veined or flecked design, a single solid-color patch may always remain visible up close. A fine brush can be used to add subtle lines or dots after the base repair cures, but restraint matters. Too much detail can look less natural than a clean, neutral patch.
Texture is equally important. Smooth glazed tile is easiest to repair. Heavily textured porcelain, hand-made tile, and stone-look tile often require more advanced color and surface work to achieve a low-visibility result.
When a Chipped Tile Should Be Replaced Instead
A filled chip is not the right repair for every situation. Consider tile replacement when the damage reaches the tile edge, when the tile is cracked through its body, or when a large piece has broken away. These conditions can weaken the tile and make a surface patch more likely to fail.
Replacement may also be wiser when water can reach the substrate. This is especially relevant in showers, around tubs, and on wet-area floors. A damaged tile and failing grout joint can allow moisture beneath the finished surface, where it may cause adhesive failure or more extensive damage over time.
If you have spare tiles from the original installation, keep them. Even a few extras can make a future repair far easier. Matching older tile years later can be difficult because manufacturers discontinue styles, dye lots vary, and sun exposure can subtly change the appearance of installed tile.
Avoid These Common Tile Repair Mistakes
The most common mistake is applying filler to a dirty or damp chip. Another is choosing a repair material based only on color, without considering whether it is rated for the surface and location. Floor tile, shower tile, and backsplash tile face different demands.
Do not rush the cure time. A repair that feels hard to the touch may still need additional time before it can handle water, scrubbing, or traffic. It is also best to avoid harsh acidic cleaners and abrasive scouring powders around the repair. They can damage the patch and dull nearby glazed tile.
Finally, do not use a tile chip repair to ignore widespread grout discoloration, loose tile, or recurring cracks. Those signs point to a larger maintenance or installation issue that deserves a closer look.
Get the Right Solution for Damaged Tile and Grout
For a single small chip, a careful epoxy repair can restore the tile’s appearance and help prevent dirt from settling into the damaged spot. For extensive tile wear, stained grout, recurring damage, or surfaces that need a consistent refreshed appearance, a broader restoration plan may deliver a better result than repeated spot fixes.
Natural Surface Restoration helps homeowners throughout North Central Florida evaluate worn tile and grout surfaces, restore their appearance, and protect them for continued use. A clear assessment of the material and damage helps ensure the repair you choose will look right and last.