
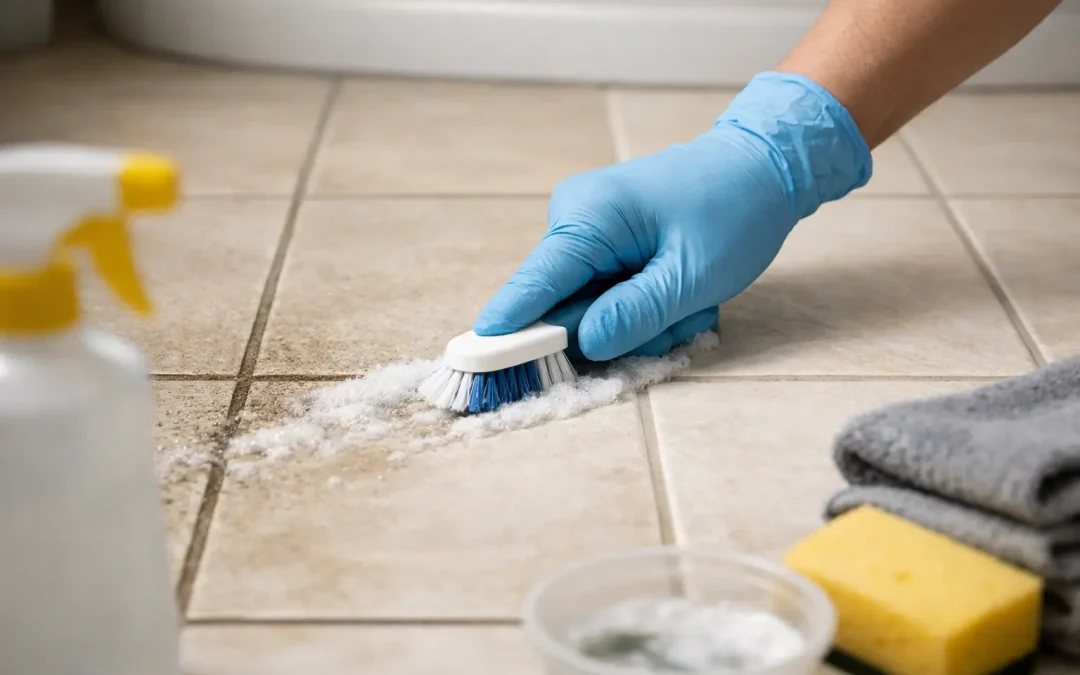
A tile floor can be clean, freshly mopped, and still look tired because the grout lines have turned dark, yellow, orange, or blotchy. The good news is that learning how to revive stained grout usually does not mean replacing the tile. The right approach depends on what caused the discoloration, how far it has penetrated, and whether the grout itself is still sound.
Grout is naturally porous, especially when it has not been sealed or its sealer has worn away. In Florida homes, humid bathrooms, hard-water minerals, tracked-in soil, cooking grease, and mildew can all settle into those tiny pores. A stronger cleaner is not always the answer. In some cases, aggressive scrubbing can wear down the grout surface and leave it more exposed to future stains.
Start by Identifying What Stained the Grout
Before choosing a cleaner, look closely at where and how the staining appears. Uniform darkening in high-traffic areas is often ground-in soil and old cleaning residue. Orange or rust-colored marks around showers, toilets, or sinks may point to mineral deposits or rust. Black or gray spotting in a shower is commonly mildew or mold growth supported by moisture.
Kitchen grout brings a different challenge. Grease, food spills, and oily residue can make light grout look yellow or brown, particularly near the stove or in a backsplash. White, chalky buildup is often mineral residue, while a grout line that stays dark after cleaning may be deeply stained rather than simply dirty.
This diagnosis matters because one product cannot safely solve every problem. An acidic cleaner may help with certain mineral deposits but can damage surrounding natural stone, including marble, travertine, limestone, and some terrazzo. Bleach may brighten surface discoloration temporarily, but it does not remove every embedded stain and can be harsh on grout when used repeatedly.
How to Revive Stained Grout With a Safe First Cleaning
Begin with the mildest effective method. Vacuum or sweep first so loose grit does not turn into an abrasive paste during cleaning. Then apply a pH-neutral tile and grout cleaner, following the label directions, and let it dwell long enough to loosen soil. Do not let it dry on the surface.
Scrub the grout lines with a stiff nylon brush, not a wire brush. Work in small sections and rinse well with clean water. A microfiber cloth or wet vacuum is useful for lifting the dirty solution instead of pushing it back across the floor.
For a small area of ceramic or porcelain tile with ordinary soil, a baking soda paste can be a reasonable household option. Use just enough water to make a spreadable paste, work it gently into the grout, wait a few minutes, then scrub and rinse. It is not a cure for severe discoloration, but it can reveal whether the problem is surface dirt or a deeper stain.
Avoid mixing cleaning products. Combining bleach with ammonia, acids, or other cleaners can create dangerous fumes. Also skip abrasive powders and harsh acidic products unless you know the tile and surrounding surface can tolerate them. What works on porcelain tile may be a costly mistake on polished marble or travertine.
Give Shower Grout Time to Dry
A shower can look stained simply because the grout is holding moisture. After cleaning, run the exhaust fan, leave the door open, and allow the area to dry fully before deciding whether the color has improved. If dark areas lighten as they dry and return after each shower, moisture management is part of the solution.
Check caulk lines, cracked grout, and loose tile at the same time. Cleaning will not solve water intrusion behind the tile. Those conditions need repair before sealing or recoloring the grout.
Treat Stains Based on the Problem
Once basic cleaning has removed surface soil, targeted treatment can address what remains. Mineral buildup may require a product designed for hard-water deposits, but use it carefully and keep it away from acid-sensitive stone. Rust staining often needs a rust-specific treatment rather than more bleach or scrubbing.
For mildew staining on ceramic or porcelain shower tile, use a bathroom cleaner intended for mildew and follow the manufacturer’s dwell-time instructions. Ventilation, a dry squeegee after showers, and prompt attention to leaks will do more for long-term appearance than repeatedly using a strong disinfectant.
Greasy kitchen grout needs a degreasing cleaner. Let the product work before brushing. If you scrub immediately, you may spread oily residue across neighboring grout lines instead of lifting it out.
There is a limit to spot treatment. Older grout can absorb pigments, minerals, and cleaning chemicals so deeply that it remains discolored even when it is clean. At that point, continued chemical use often delivers smaller results while increasing the chance of surface damage.
When Grout Color Sealing Is the Better Answer
Color sealing is often the most practical way to restore grout that is permanently stained but still structurally intact. Unlike a clear penetrating sealer, a color sealer applies a consistent new color across the grout lines while also helping block future soil and liquid absorption.
It can make a dramatic difference on aging bathroom floors, kitchens, entryways, and tiled living areas. A homeowner may choose to restore the original grout color or shift to a darker shade that better suits the room and is easier to maintain. The tile remains in place, but the floor can look far more uniform and finished.
The trade-off is preparation. Color sealer needs clean, dry, stable grout to bond correctly. It is not a shortcut for failing grout, cracked joints, or areas with ongoing moisture problems. It also requires careful application to avoid leaving residue on textured tile, unglazed tile, or natural stone.
For deeply stained grout, Natural Surface Restoration can evaluate whether professional deep cleaning, grout color sealing, repair, or a combination of services will produce the most durable result. This is especially useful when tile borders natural stone or when a large floor needs a consistent appearance from room to room.
Know When Cleaning Is Not Enough
Some grout problems are really installation or maintenance problems in disguise. Crumbling joints, missing grout, recurring mildew, hollow-sounding tile, and cracks that return after repair should not be covered with sealer and forgotten. They may signal movement, moisture behind the tile, or a failed shower assembly.
Replacement becomes more reasonable when grout has deteriorated extensively or the tile itself is loose, chipped, or damaged. But many homeowners assume replacement is necessary when the real issue is discoloration. A professional assessment can separate cosmetic staining from conditions that need repair, helping avoid unnecessary demolition.
Keep Restored Grout Looking Better Longer
Once the grout is clean or color sealed, maintenance should be simple. Use a pH-neutral cleaner for routine mopping, rinse away cleaner residue, and avoid soaking floors with excess water. In showers, use the exhaust fan during and after bathing, and dry high-use areas regularly.
Clear sealers may need periodic renewal, depending on traffic, cleaning habits, and the grout type. Color-sealed grout generally offers stronger stain resistance, but it still benefits from gentle cleaners and quick spill cleanup. Harsh chemicals can dull the surface or shorten the life of the protective treatment.
The goal is not to make grout maintenance complicated. It is to stop treating a porous surface like it is impervious. A little prevention protects the restored color and reduces the need for aggressive cleaning later.
If stained grout is making an otherwise well-kept room look worn, start with a careful diagnosis instead of the strongest cleaner under the sink. The right restoration method can preserve the tile you already have, improve the room’s appearance, and give you a surface that is easier to live with for years.