
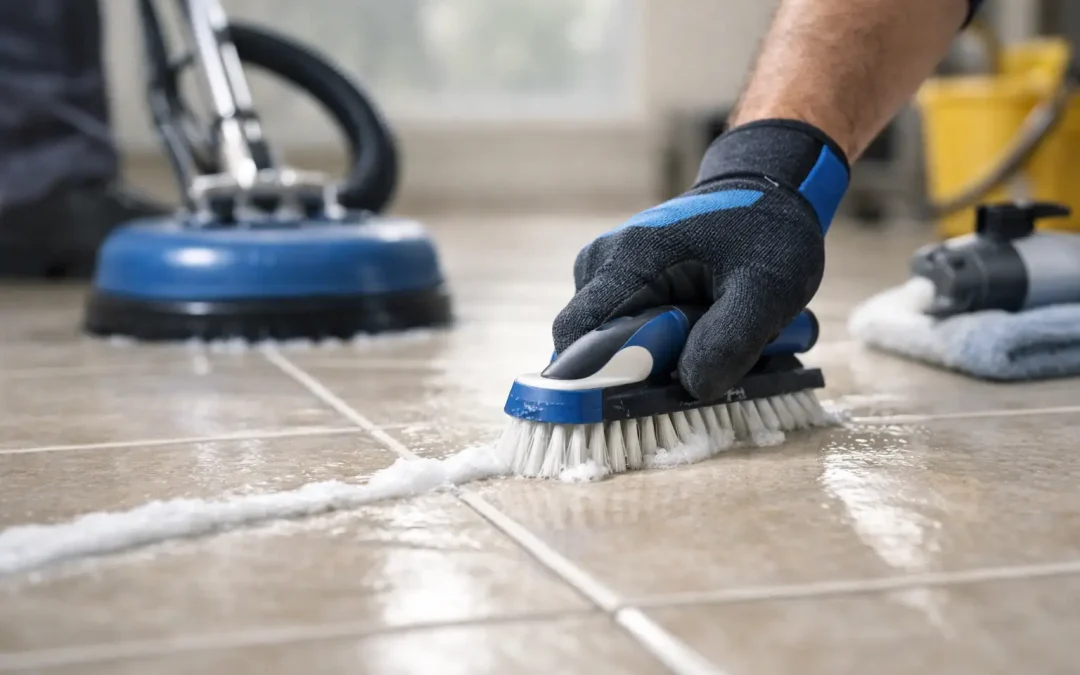
A tile floor can look clean from across the room while the grout tells a different story. Dark traffic paths, orange shower staining, greasy kitchen buildup, and blotchy grout lines can make an otherwise well-kept surface look worn out. Professional grout cleaning addresses the soil that routine mopping and store-bought cleaners often leave behind.
For homeowners, the goal is not simply brighter grout for a day or two. It is restoring a cleaner, more consistent appearance while protecting the grout lines that hold the tile installation together. The right process depends on the tile, the location, the condition of the grout, and whether the staining can be cleaned or needs a color-restoration solution.
Why Grout Gets Dirty So Quickly
Most grout is porous, especially unsealed cement-based grout. It absorbs moisture, body oils, soap residue, cooking grease, tracked-in soil, and minerals from hard water. Bathrooms and shower floors also stay damp longer, which allows discoloration to build up in a way that a quick scrub cannot always remove.
Floor grout has a different problem. In entryways, kitchens, hallways, and living areas, fine dirt is pushed into the grout with every step. Mopping can remove loose soil from the tile surface, but dirty water may settle into recessed grout lines. Over time, light-colored grout can turn gray, brown, or nearly black in the highest-traffic areas.
Not every dark line is dirt, however. Some grout is permanently discolored by age, dyes, rust, mineral deposits, or old cleaning products. That distinction matters because no cleaning method should be sold as a cure for staining that has penetrated too deeply into the material.
What Professional Grout Cleaning Does Differently
A professional service starts with evaluating the surface instead of applying one harsh cleaner everywhere. Ceramic and porcelain tile are generally durable, but natural stone tile, decorative tile, glazed finishes, and certain grout types need more careful product selection. Acidic cleaners, for example, can damage marble, travertine, limestone, and some grout installations.
The cleaning process typically combines the proper solution, controlled agitation, and extraction. A cleaning agent is selected to loosen the type of buildup present, whether that is oils, soap film, embedded soil, or mineral residue. The grout is then agitated with appropriate equipment so contaminants release from the pores rather than simply spreading across the tile.
Hot-water extraction or rinsing removes the loosened soil and cleaning residue. This step is one reason the results often last longer than a do-it-yourself scrubbing session. If dirty solution is left behind, it can dry back into the grout and attract more soil. Thorough removal gives the grout a cleaner starting point before sealing or color restoration is considered.
Professional grout cleaning is especially useful when a large tiled area has uneven traffic staining. Hand scrubbing may improve a small section, but it is difficult to create a consistent finish across a kitchen, several bathrooms, or an open living area without the right process.
Cleaning vs. Grout Color Sealing
Cleaning is the right first step when the grout is structurally sound and the original color can still be restored. If the grout brightens evenly after cleaning, a penetrating sealer may help reduce future absorption and make routine maintenance easier.
Color sealing is often the better option when grout remains blotchy, permanently stained, or simply no longer matches the look of the room. A quality grout colorant is applied to the grout lines to create a more uniform color while adding a protective barrier. It can restore the appearance of old grout without the cost, dust, and disruption of removing and replacing it.
This is not a one-size-fits-all decision. Color sealing can make dramatic sense for a dated tile floor with discolored grout, but it may not be necessary for grout that cleans well and only needs protection. It also will not solve loose, cracked, missing, or failing grout. Those conditions should be repaired before any cleaning or color-restoration work begins.
Areas That Benefit Most From Professional Grout Cleaning
Bathrooms are among the most common places for grout restoration because showers combine water, soap, shampoo residue, and body oils every day. Shower floors, corners, and lower wall sections usually show buildup first. In some cases, what appears to be a surface stain may point to an ongoing moisture issue, failed caulk, or damaged grout that needs attention beyond cleaning.
Kitchen floors and backsplashes can collect grease that makes grout look yellow or dark. Even a backsplash that is wiped regularly can develop residue near the range. On floors, the combination of cooking oils and foot traffic creates stubborn buildup that is rarely removed by general-purpose mopping.
Entryways, laundry rooms, hallways, and pet areas are also strong candidates. These spaces take on outdoor soil, moisture, and repeated foot traffic. Restoring the grout can change the entire appearance of the room without replacing tile that is still in good condition.
When DIY Methods Can Cause More Harm Than Good
Homeowners often try bleach, acidic cleaners, steam, abrasive powders, or stiff brushes before calling for help. These methods can sometimes improve a small, isolated stain, but they also carry risks. Strong chemicals may weaken grout, strip sealers, discolor surfaces, or damage nearby stone. Abrasive tools can scratch certain tile finishes or wear away grout joints over time.
Bleach is a common example. It may lighten some organic stains, but repeated use can leave grout dry, uneven, or more vulnerable to future staining. Mixing products is an even greater concern. Household cleaners should never be combined, especially bleach and acidic products.
Steam can be useful in the right situation, but it is not automatically the safest or most effective answer. Excessive heat and moisture may be a poor choice around compromised grout, loose tile, or areas with existing installation problems. The best method depends on what is on the grout and what is underneath it.
How to Keep Cleaned Grout Looking Better
After restoration, simple habits help protect the result. Use a pH-neutral cleaner appropriate for the tile and grout rather than leaving soap-based mop residue behind. Change mop water often, especially on light-colored grout, and avoid soaking floors with excessive water.
In showers, using a squeegee after bathing reduces moisture and mineral buildup on both tile and grout. Good ventilation also matters. Run the exhaust fan long enough to clear humidity, and address dripping fixtures before they create repeated staining in one area.
Sealing can provide added protection for many grout installations, but it is not a force field. It slows absorption and makes spills easier to clean when maintained properly. It does not replace regular cleaning, and it should be matched to the grout type and the use of the space.
What to Expect From a Grout Assessment
Before scheduling work, a qualified assessment should look at the tile material, grout condition, stain pattern, prior sealers or coatings, and any cracked or missing areas. A technician should be able to explain whether cleaning alone is likely to provide the result you want or whether color sealing would offer a more predictable finish.
Ask about the cleaning method, whether soil will be extracted rather than wiped around, and what maintenance is recommended afterward. Before-and-after proof is valuable because it shows the difference between surface-level cleaning and a true restoration process.
Natural Surface Restoration helps North Central Florida homeowners restore tile and grout without rushing to replacement. If your tile is in good shape but the grout makes the room look tired, request an estimate and get a clear recommendation based on the condition of your actual surface. A properly restored grout line can make a familiar room feel cared for again.