
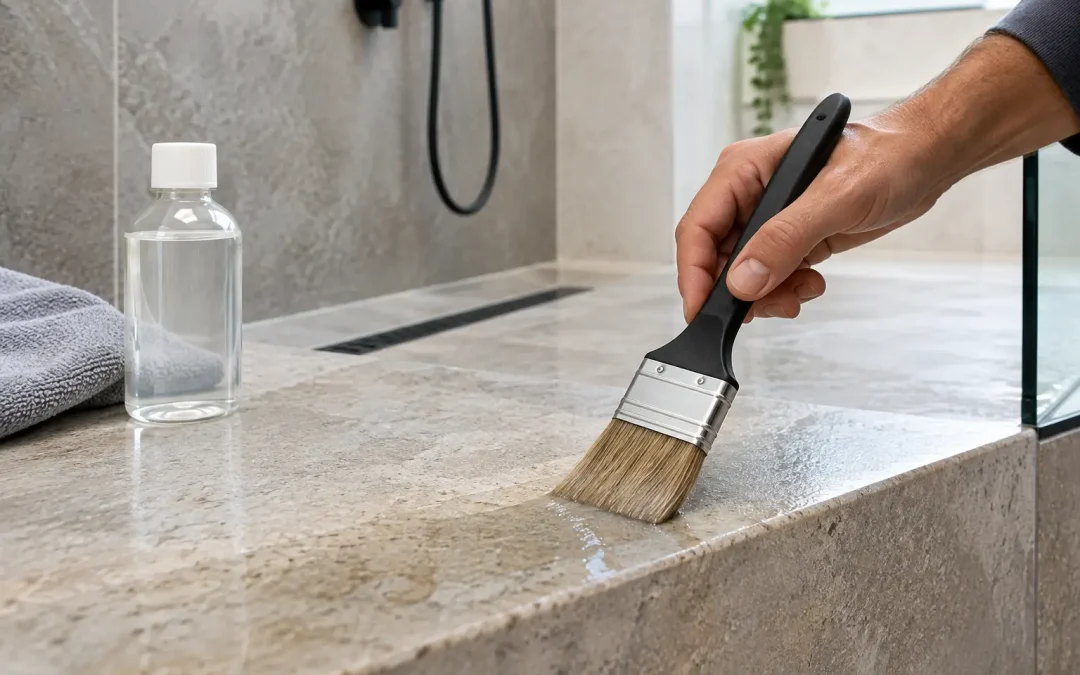
A stone shower can look like the best feature in the house until dark spots, white film, or uneven color begin to show. Knowing how to seal shower stone helps protect that investment, but sealing is not a cure-all. The wrong product, poor surface preparation, or sealing stone that still holds moisture can leave a shower looking worse instead of better.
Why Shower Stone Needs Special Care
Stone in a shower faces conditions that a kitchen countertop or entryway floor does not. It receives daily water exposure, soap residue, shampoo, body oils, and humidity. In North Central Florida, bathroom humidity can also make it harder for wet shower surfaces to dry thoroughly between uses.
Many natural stones are porous to some degree. Travertine, limestone, marble, slate, and some granites can absorb water or contaminants through microscopic openings. A quality penetrating sealer slows that absorption, giving homeowners more time to clean spills and rinse away products before they discolor the stone.
Sealer does not make stone waterproof, nor does it stop etching. Marble, travertine, and limestone can still develop dull marks when acidic products contact the surface. Citrus-based cleaners, vinegar, harsh bathroom sprays, and some shampoo products can etch calcium-based stone even when it has been sealed. That is why the cleaning routine matters just as much as the sealer.
Does Your Shower Stone Need Sealing?
Not every stone needs the same treatment or the same resealing schedule. Dense granite may need less frequent sealing than honed travertine, while a highly porous limestone may need more attention. The finish matters too. Honed stone often shows changes differently than polished stone, and textured surfaces can hold more soap film and mineral deposits.
A simple water test can provide a useful first clue. Place a few drops of clean water on a dry, inconspicuous section of the stone. If the water beads on top for several minutes, the existing protection may still be working. If the stone darkens quickly as it absorbs the water, it may be time to evaluate the sealer.
This test is only a screening tool. Darkening can also come from moisture behind the tile, a failing grout joint, or a shower pan issue. If discoloration persists after the shower has had time to dry, do not assume that another coat of sealer is the answer. Address the source of moisture first.
The Right Way to Seal Shower Stone
Proper prep determines whether a sealer performs well. Applying sealer over soap residue, hard-water scale, mildew, or old coating buildup can lock in a cloudy or blotchy appearance. The stone must be clean, dry, and free of residues before any sealer goes on.
Start With the Stone Type and Its Condition
Identify the material before selecting a product. Marble, travertine, limestone, slate, granite, and quartzite can require different cleaning methods and respond differently to sealers. If the shower includes natural stone tile and cement-based grout, each material may absorb sealer at a different rate.
Look closely for cracks, loose tiles, failing caulk, missing grout, or persistent dark areas. Sealer is not a repair for water intrusion. Water can pass through compromised joints and get behind the stone, where it may cause staining, mold concerns, or adhesive failure. Damaged joints should be corrected before the stone is sealed.
Clean Without Etching the Surface
Use a stone-safe, pH-neutral cleaner to remove ordinary shower residue. Avoid vinegar, bleach, acidic cleaners, powdered abrasives, and general-purpose products unless they are specifically approved for the stone. A cleaner that works well on ceramic tile can damage or dull natural stone.
Hard-water deposits may need a more specialized approach. Scrubbing aggressively with abrasive pads can scratch softer stones or create uneven sheen. If mineral buildup, deep soap film, or etching is already present, professional cleaning or restoration may be needed before sealing. Sealing a dull, etched surface does not restore its polish.
After cleaning, rinse thoroughly. Any leftover cleaner can interfere with sealer absorption or leave streaks when the surface dries.
Let the Shower Dry Completely
This is the step homeowners most often rush. Stone and grout can retain moisture longer than they appear to, especially in a frequently used shower. Depending on the stone, ventilation, humidity, and how deeply the area was cleaned, drying may take 24 to 72 hours or longer.
Applying an impregnating sealer to damp stone can reduce penetration and may trap a darker appearance in some materials. Keep the shower unused during the drying period, run the bathroom exhaust fan, and provide airflow if possible.
Apply a Penetrating Sealer Carefully
For most natural stone showers, a breathable penetrating or impregnating sealer is the preferred choice. It is designed to enter the stone rather than form a thick film on top. Surface coatings can peel, haze, or become slippery in wet areas unless they are specifically engineered for shower use.
Apply the sealer evenly according to the product directions. Work in manageable sections, allowing the stone to stay evenly wet for the stated dwell time. Then wipe away every bit of excess before it dries. Excess sealer can leave a sticky residue or cloudy patches that are difficult to remove.
Do not assume that more coats mean better protection. Some dense stone will not accept a second coat, and repeated application can create residue. A small test area is the safest way to confirm appearance and absorption before treating the entire shower.
Allow Proper Cure Time
A sealer may feel dry on the surface well before it has fully cured. Follow the product’s guidance for curing before using the shower. Taking a shower too soon can weaken the treatment or cause water spotting while the sealer is still setting.
Common Mistakes When You Seal Shower Stone
The most expensive mistakes usually begin with a product that promises too much. A sealer will not stop marble etching, repair cracks, eliminate mold, or solve a leak behind the wall. It is a protective treatment, not a substitute for maintenance or waterproof shower construction.
Another problem is using an enhancing sealer without testing it first. Enhancers intentionally deepen color and can make stone look richer, but the result may be uneven on worn, patched, or variably absorbent material. Once the color is changed, reversing it can be difficult.
Homeowners also sometimes confuse grout sealer with stone sealer. Cementitious grout usually benefits from sealing, but epoxy grout typically does not need it. Caulk or silicone joints around corners, fixtures, and the shower pan are separate from grout and should be inspected for gaps or deterioration.
Keep Sealed Shower Stone Looking Better Longer
After the stone has been sealed, daily habits protect the finish. Use a squeegee after showering to remove standing water from walls and glass. Rinse away soap and shampoo residue, especially from textured stone or grout lines. Run the exhaust fan during showers and for a period afterward to reduce moisture buildup.
For weekly cleaning, use a pH-neutral stone cleaner and a soft cloth or nonabrasive sponge. Avoid leaving bottles directly on stone ledges if they leak or collect water underneath. A small tray or shelf liner can prevent rings and concentrated product stains.
Watch for a change in behavior rather than sealing on a fixed calendar. If water begins soaking in quickly, if cleaning no longer removes ordinary residue easily, or if the stone takes on uneven dark spots, it is time to assess the surface. Some showers may need resealing every year or two, while others can go longer. Usage, stone type, ventilation, and cleaner choice all affect the schedule.
When Professional Help Makes Sense
A shower that looks blotchy, dull, hazy, or permanently stained may need more than a fresh coat of sealer. Etched marble and travertine can often be honed and polished. Embedded soap film and hard-water deposits may require professional-grade cleaning methods. Dark areas around grout lines may call for a closer inspection before any protective product is applied.
Natural Surface Restoration helps homeowners evaluate stone condition, clean and restore worn surfaces, and apply the right protection for the material. For Gainesville-area homeowners, a professional assessment can prevent the costly mistake of sealing over damage or using a product that changes the stone’s appearance.
A well-maintained stone shower should feel like a lasting part of the home, not a constant cleaning project. Start with the actual condition of the stone, protect it with the right sealer, and address moisture concerns before they become bigger repairs.